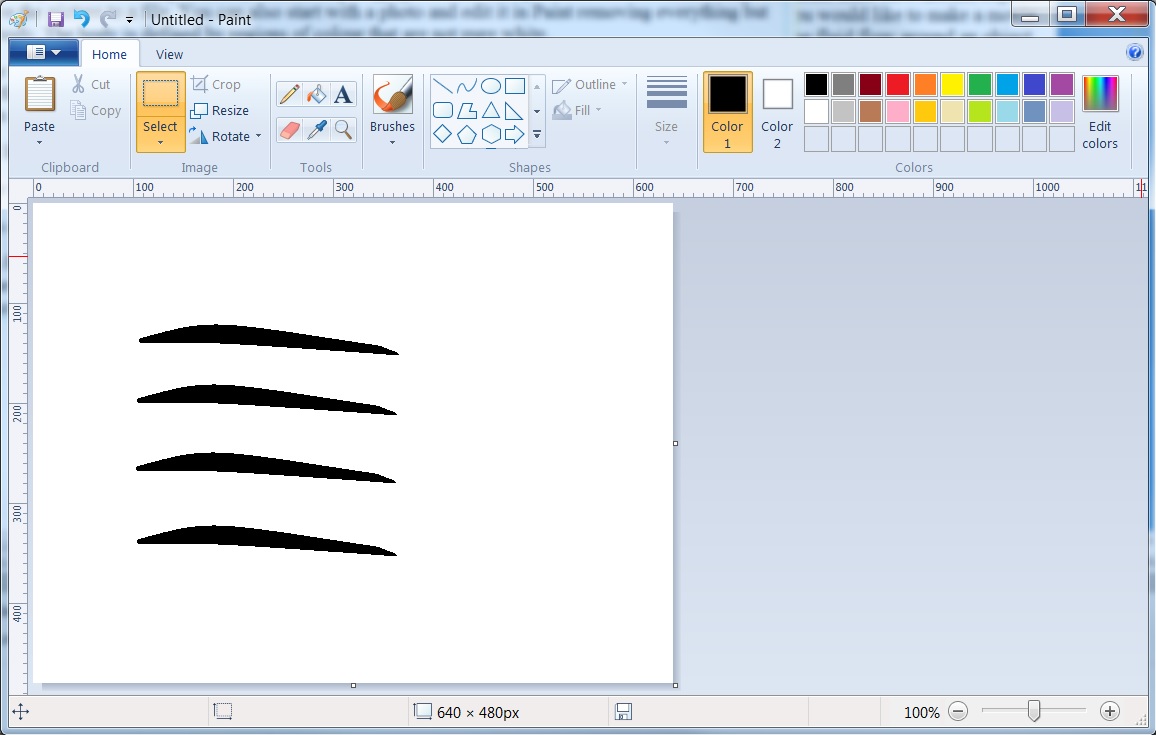
Your picture should be in one of many standard bitmap formats, such as bmp or png, and it is recommended to disable any image compression. Please avoid using jpeg formats as they always have compression, therefore may not simulate correctly. To make it, open Paint or similar drawing program, draw the body, and save the picture to a file. You can also start with a photo and edit it in Paint removing everything but the area that you want to be the body. The body is defined by regions of colour that are not pure white (#FFF), which is used to define the simulation area. Here is an example of an image created with Paint:

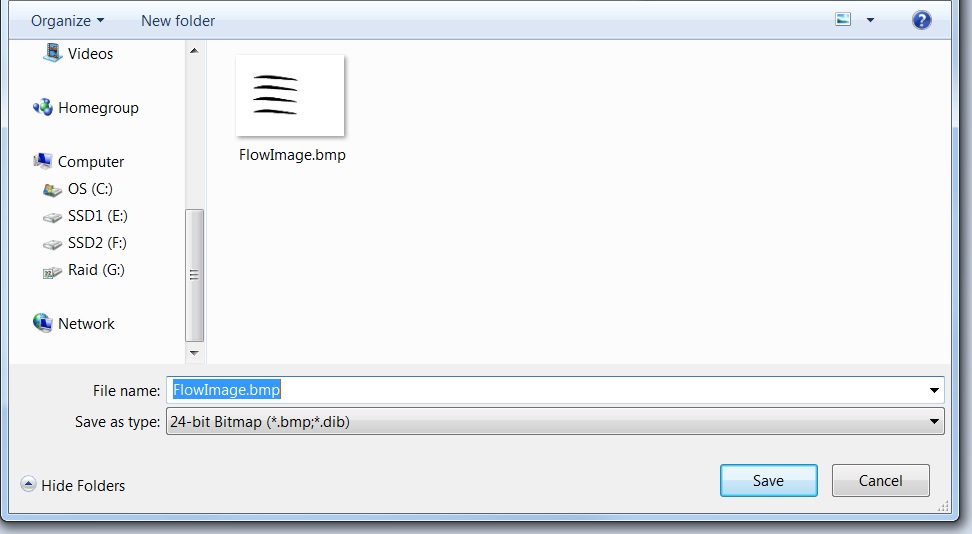
Save the image as one of the standard image types, although for Flow Illustrator it is better to use a bmp image type so that compression of the image does not distort the image and therefore cause problems with the white areas being blocked with slight changes due to compression. Save the image to a suitable location to make it easier to locate when using the Flow Illustrator simulation page.

On receiving the picture from the user, the flow simulation tool will use the white parts of the image as the place in which the fluid (air or water) will flow and anything other than white will be the body determining the outcome of the flow. The simulation run by the Flow Illustrator will result in a video that can be downloaded and watched on your computer.
It is better to have the width and height of the picture to be the power of 2 pixels, say, 512×256.
You can also download the Flow Illustrator sample bitmap and edit it.
Start with small (256×128) sizes and short video durations to get a feel of the speed.
The most common problem with bitmaps occurs when the picture has no completely-white areas, which the code would interpret as areas of the flow. In this case, the entire picture is considered as the body. As a result, the video would be static, with no flow at all. Solution: always have a space for the fluid to flow.
